Choosing the Right Map
It’s essential to understand the different kinds of maps, and how they can help you depending on your situation.
Although you can’t always know where you’re going to end up, understanding the differences between various maps will give you a better idea of which one to take with you when the time comes.
Topographic Maps
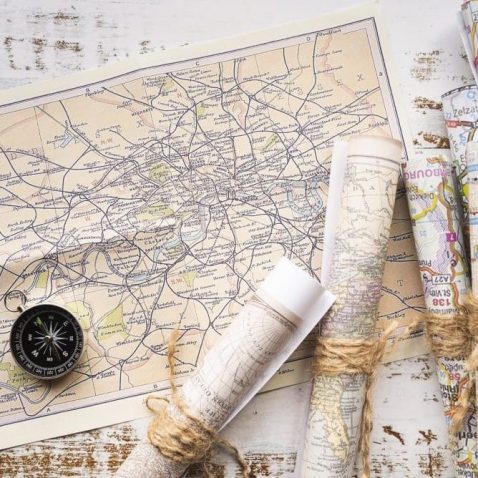
These are the most common type of map you’ll encounter if you are planning to head into the wilderness. They show areas in detail, with different features highlighted for better navigation.
For example, topographic maps will show the terrain, points of interest, roads, and distances in detail. This amount of information might sound overwhelming, but they are relatively straightforward to use once you get the hang of them.
Because of the geographic detail, these maps are typically used for lots of outdoor activities, such as camping, hunting, and hiking.
Tourist Maps
Tourist maps are not generally considered useful for survival scenarios. They show attractions and places of interest within a tourist area. They might be helpful as a last resort, but I wouldn’t recommend these kinds of maps for serious survivalists.
Road Maps
If you have to leave your town or city at a minute’s notice, make sure you have a road map in your vehicle.
Their design is pretty self-explanatory. Road maps highlight the different routes to take via road, and they should make clear distinctions between the various kinds of roads.
This will help you from driving down a back road when you really need to take the highway.
While they’re not ideal if you’re driving solo, they can be useful to consult if you get the chance to pull over.
Understanding the Key Features
Before you can start directing yourself, you’ll first need to get to grips with the features of a map.
Most maps will have these features in some form or another, and it’s essential to take the time to understand them.
If you misinterpret a feature or don’t know how to use it, then having a map on hand would be pretty pointless.
Grid References
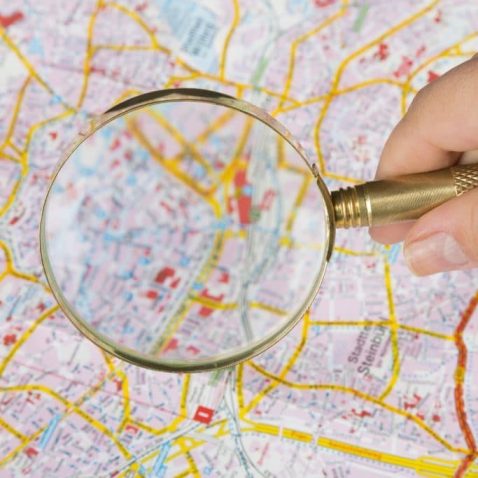
Each map will be divided into grid squares, using horizontal and vertical grid lines. They are divided based on the longitude or latitude. Latitude shows the north-south position on the earth’s surface, while latitude shows the east-west position.
Grids will help you to quickly scan distances, as they typically use a simplistic scale that is easy to understand at a glance. Usually, each square from left to right is representative of 1km in real life.
Legend
The legend (also referred to as the ‘key’) shows you how different features of the map are used. The legend has symbols that will correlate to certain features.
For example, a border is often represented by a dashed line. The legend makes it easier for you to understand the map, and it allows the map to condense more information into a smaller space by using symbols.
North Arrow
When cartographers design maps, they typically ensure that the top of the page is representative of the north. North is often viewed as a neutral position with which to orientate yourself from, and can work as a reference point for other directions.
On a map, north is usually highlighted by an arrow-shaped icon with an ‘N’ lettered underneath it, which will keep you in the right direction.
It is worth noting that many topographic maps point to what’s known as ‘true north,’ which means the North Pole. They may also point to ‘magnetic north,’ which is where a compass would point towards.
Some more detailed maps may show a compass rose and highlight all four primary directions for your convenience.
Scale
It would be a big task to create a life-sized map. Instead, maps use a scale to reduce an area to a readable size.
A scale will help you by using a given distance as equal to a specific measurement. For example, on a 1:10,000 scale, one of any unit on the map would equal 10,000 of the same unit on the real-life ground. It is worth noting, when referring to map reading information, that the orienteering world typically uses meters to measure distance.
Deciding on the appropriate scale for you will depend on what area you intend to be in. However, a standard scale ratio for wilderness purposes is usually 1:50,000. This ratio means that for each millimeter on the map, there are 50 meters in the real outdoors.
For a quicker interpretation of distances, without having to measure each millimeter individually, you can use the grid squares on the map to help you. Each square is usually equal to 20mm, so, using a 1:50,000 scale, each square would equate to 1km in real life.
It is also worth thinking about how detailed you want your map to be. Generally, the smaller the scale is, the more detailed a map will be, and it will show more geographical features such as where trees and rocks are. This is useful to remember in terms of survival preparation.
Where Are You?
Now that you understand the basic features of a map, it’s time to start learning how to read one.
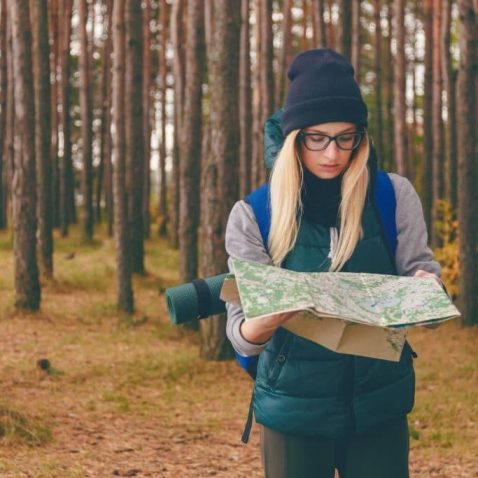
To begin reading a map, you’ll need it to point towards the north direction. You can do this by placing your survival compass on the map, pointing it towards the top, and then moving your position until the compass’s needle is pointing north. It’s really as simple as that.
From there, it’s time to figure out where you are in relation to the rest of the map so that you can start your journey. This is a relatively simple process if you happen to be on a road with street signs or markers. You can find them on your map, and mark your position from there.
However, if you’re stuck in what feels like the middle of nowhere, your best option is to look at what you can see in real life, such as certain terrains or woodland, and try to match this up on the map.
Using significant natural features, such as bodies of water or mountainous zones, will give you the best chance of finding your spot.
Once you feel confident about your position, be sure to mark it on the map, so you have a clear starting point.
It is important to remember that if you are in an empty area with little to no roads or public spaces, then your position on the map doesn’t need to be 100% accurate.
As long as you have a rough idea, give or take a mile or two, then you should be able to head in the right direction without this being an issue.
Where Are You Going?
When you’ve established your current position, the next step is to decide on your destination.
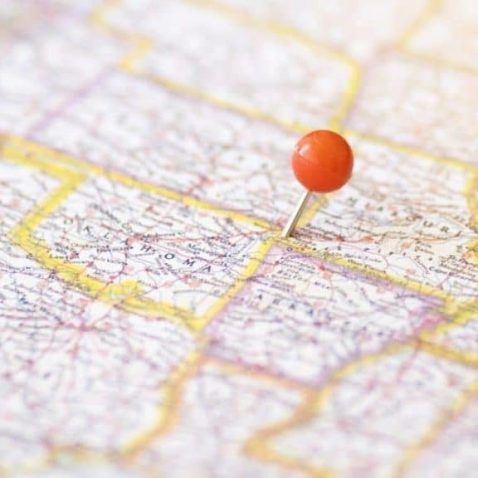
In a survival situation, you’ll want to make your journey safe, with as few obstacles along the way as possible. Bear this in mind when choosing a destination, as you’ll have all of your survival gear to carry, and preserving your energy is crucial.
On your map, circle the area that you want to go to, and look at the distance between your current location and your end destination. Doing this will help you to pinpoint the route you’ll need to take, and let you figure out the quickest way to get there.
How to Read Contour Lines and Look for Landscape Features
On a topographic map, there will be contour lines. These are thin black lines that thread around the map.
There will also be indicators of specific landscape features, which are useful to know when planning a safe survival route.
Each line on a typical 1:50,000 scale map signifies a rise of 10 meters above sea level. For every five contour lines along, the contour line will get bolder, which makes it quicker to count at a glance.
Contour lines are useful in analyzing the steepness of a gradient. The closer together the lines are, the steeper the gradient will be. This is important to know when it comes to survival, as you can plan routes around gentler slopes to prevent steep climbs and higher risk routes.
It’s useful to be able to recognize Spurs on a map. Spurs are where the ground slopes downwards from a hill or mountain, sloping down from three sides and upwards from one side.
On a topographic map, they’re identified by the contour lines pointing away from the summit of a mountain or hill.
When in a mountainous area, it’s crucial to identify Re-Entrants on a map. Re-Entrants are indentations in the side of a mountain and could be useful if you are looking to find somewhere to take shelter or need to navigate around a mountain in general.
These are shown on a map as contour lines pointing against the slope of the mountain.
If you can identify the summit of a mountain or hill, then you could work your way around this to help plan your route. On a map, the summit is shown as a ring of contour lines.
Color also plays a key role in the makeup of a map. You should refer to the legend to determine what the colors represent, as each map will be different.
However, the elevation is typically shown as dark green colors, which transitions to brown, and then to white, the higher the elevation gets.
Start Travelling
Now that you’ve established where you need to go, it’s time to start moving.
It may seem scary to head into the unknown, but if you keep referring to the map then you shouldn’t stray too far off your route.
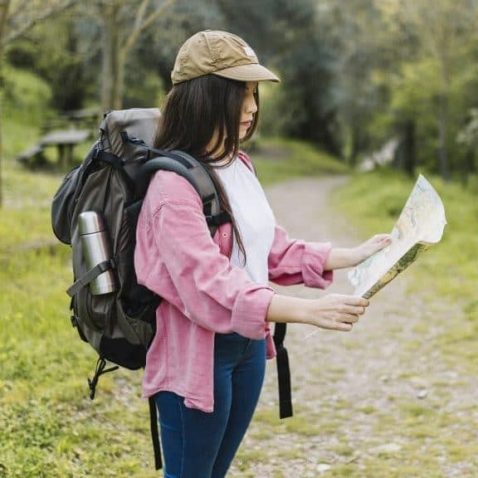
Depending on the survival situation you’ve found yourself in, timing and pace are essential. While it may be tempting to make frequent stops throughout your journey, you’ll need to bear in mind the weather conditions and the time of day.
Once it gets dark, your journey will be made much more difficult, so you should aim to get there in decent time if possible.
Another factor to consider when reading a map is the number of people that are traveling with you. It is advisable to delegate duties to each person in the group, and if someone is already well-versed in map reading, it may be best for them to navigate.
This helps to prevent any disputes over which way to turn or what landscape features will mean.
Staying on Track
It’s all well and good traveling on your planned route, but if you do happen to accidentally take a detour, you’ll need to be able to safely find your way back.
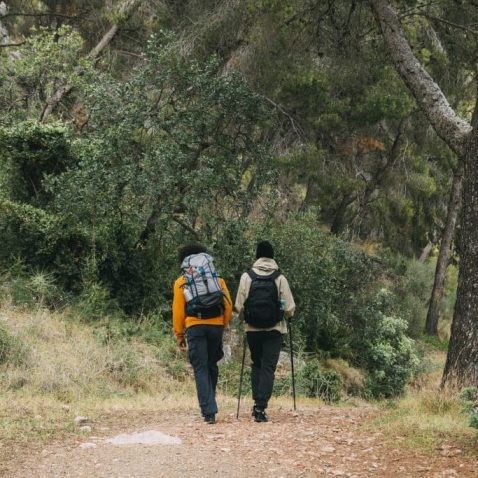
That’s why noting checkpoints is a helpful way to ensure you can get back on track. You can do this by using a pen or pencil, and drawing a star or an X once you reach a memorable landmark on your route. You can then refer to this marking if you do lose your way.
A tactic used by many survivalists is known as ‘thumbing.’ Thumbing is one of the best ways to keep track of your steps should you need to retrace them.
You’ll need to fold your map, so it shows your current location and your planned destination. Position your map so that your thumb is placed on your current location.
Then, drop the map to your side, keeping your thumb in position. You can then forget about the map, and when you lose your place, simply look at the map, and your thumb will be on your last location.
This simple method is ideal for survival situations when you don’t have a wilderness survival pack to hand.
Summary
We hope this guide has helped you to understand the basics of map reading. If you are serious about survival, learning how to read a map is a skill that shouldn’t be ignored.
Once you know how to read a map, your chances of survival will increase greatly should you find yourself in a disaster scenario. You should take the time to practice these skills when possible, and you’ll soon be a master of map reading.
Thanks for reading our guide on How to Read a Map. We hope you can take these tips forward with you into your survival prep. Please leave any feedback in the comments section below, or if you have any suggestions for future topics, please get in touch with us. We’d love to hear from you!
Good Luck and Happy Survival Prepping!
Survival Front Team.
Share the Love
If you found this post useful, please let others know about it by sharing it.

