How to Find Water in the Wilderness
A Comprehensive Guide for Survival
Having a lack of water in a survival situation puts you in a dangerous position. Water is your most essential resource to stay alive.
While your body can survive around three weeks without food, you will typically only survive three days without water.
This means time is of the essence when you’re running low on hydration.
We’ve designed this guide to advise you on how to find water in the wilderness, should the worst-case scenario happen.
The outdoor elements, such as heat and the fatigue from walking, will likely take their toll on you if you are out there for more than a few days.
That’s why knowing how to find water in the wilderness is crucial, and could make the difference between life or death.


Prevention
While this guide is designed to help you in an emergency, possibly the most significant piece of advice is to be prepared.
This requires taking steps to prevent you from running out of water in the first place, or at least to keep you calm if that does happen.
Above all, try to take as much water with you as possible when you are setting out. Of course, you don’t want to weigh yourself down too much, but the water will be drunk, so bear in mind that your backpack will be lighter soon.
Most emergency survival kits come with extra water supplies in case you run out as well.
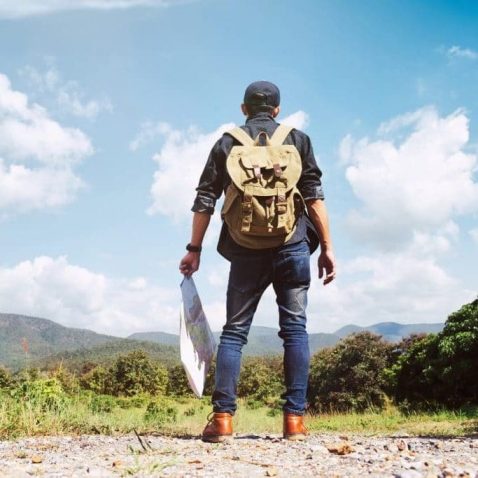
Additionally, if you know which area you’re going to be walking in, then you could take a map to help you find water. Some maps not only highlight bodies of water, but also show where springs are located.
However, be wary that not all maps are up-to-date, and the springs shown on them may no longer exist.
It is best to stay prepared along the way, by refilling your water bottle where you can before you end up far removed from fresh water. Try to fill up as much as possible before you move on.
Staying as hydrated as possible is also essential when it comes to preventing an emergency. Of course, you’ll want to conserve your water supplies in order to make them last, but if you lose your water bottle or a serious disaster happens, you won’t want to feel like your body is already losing before the battle starts.
Although it’s not always possible to plan your route when an emergency occurs, if you can, you should aim to head downhill rather than uphill.
As water is affected by gravity, it will be easier to find when you go downhill. By already walking in that direction, you might save yourself potentially being high up and far away from a water source.
Equipment
In any survival situation, it is essential to be as prepared as possible.
There should be certain items with you at all times to help, in case the unexpected happens.
When it comes to collecting water, there is equipment you can take with you to make the process less stressful.
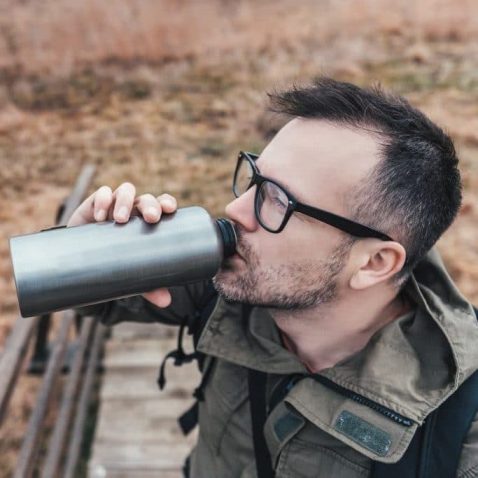
A water bottle is an essential in any survival backpack. Ideally, your water bottle should be made from unlined aluminum or steel, for maximum durability.
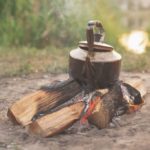
Water bottles are not only the best way to effortlessly carry water with you, but you can also use them to boil water when necessary. The bigger the water bottle, the more you can take with you on the go.
A useful piece of equipment to have, if possible, is a few feet of rubber hose pipe. Although this may not be the most comfortable piece of gear to carry around, if you can fit it in your survival backpack, it may come in extremely handy.
You can use the hose to draw water from hard-to-reach places.
For safety and hygiene, having hand sanitizer packed away is a smart idea. Many water-borne pathogens are bacteria that are found in excrement, so keeping your hands clean at all times could prevent water-related illnesses as well as other bacterial diseases.
A multipurpose survival shovel is a handy tool in its own right, but it can be useful to dig for water when you think you’ve found a source. Digging with your hands will make things much more difficult. You can check out our review of the Best Survival Shovel here.
I’d also highly recommend taking water purification tablets with you. We’ll discuss purification later on in this guide, but the convenience of these tablets will save you from using more time-consuming methods to clean your water.
Many emergency survival kits come with purification tablets included, but it’s advised to stock up if you can, to prepare for the worst-case.
Water Sources
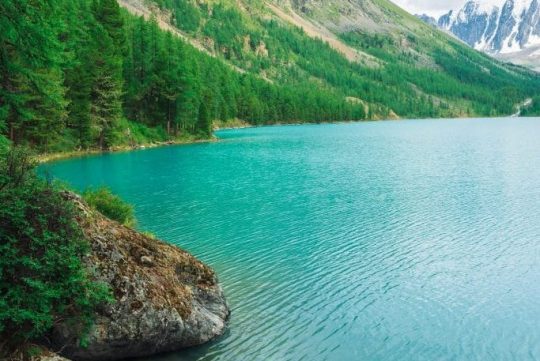
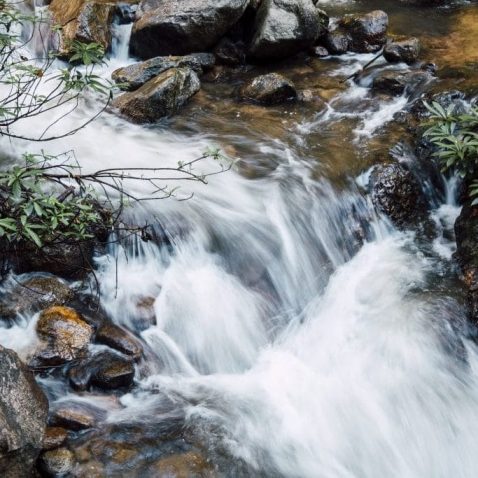
When your water supplies have run dry, the best and most obvious place to get resources is from flowing bodies of water.
Streams, lakes, and rivers will usually provide you with cleaner water than you otherwise might find.
It is important to only select bodies of water that are specifically flowing as a first resort, as stagnant water can fester bacteria at a higher rate.
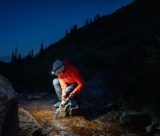
Finding water sources in the wild requires you to engage with your senses. If you’re stranded in what feels like the middle of nowhere, a good idea is to stand as still as possible, and see if you can hear any running water.
This could give you a reference point to the direction you should be heading toward.
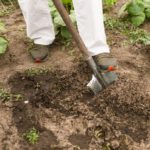
If you find that flowing water is unavailable, then you may be able to dig for water under the ground. A muddy area will be your best bet at finding groundwater.
Aim to dig a hole about a foot deep, and around one foot in diameter. Be patient, and you may find that groundwater starts appearing. Although it will be muddy, you can strain it by using cloth, and this is a sufficient short-term alternative to drinkable water.
Another source of water, although weather dependent, is rainwater. In many areas, rainwater is safe to drink. If it starts to rain, use any containers or boxes you have available to collect it.
Ice and snow can also be used for hydration if the correct steps are taken. Although you might feel desperate to drink any kind of moisture, ice consumption will lower your body temperature and make you more dehydration. Be sure to purify snow before drinking.
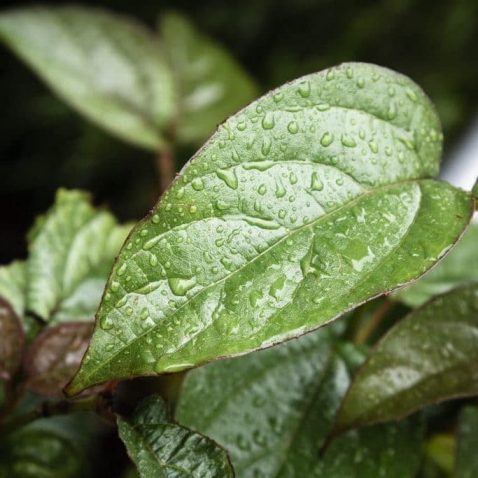
Use Vegetation
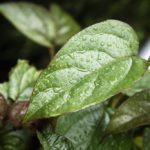
Plants and other vegetation can be the key to helping you survive should you run out of water.
Natural sources such as fruits, cacti, and roots can contain large amounts of water, particularly vegetation that has been growing near a body of water.
Drinking from plants is a straightforward process, so this is also a good choice if you don’t have lots of equipment on hand. As long as you have some form of container or box, simply place the plants inside and smash them up into a pulp, using a heavy object like a rock.
It’s unlikely that you’ll get an abundance of water with this method, but it works well during desperate times.
A more sophisticated method to get water from plants is through transpiration. Transpiration is when moisture is transported from a plant’s roots to the bottom of its leaves. It then vaporizes into the atmosphere, and it is before this point that you can try to collect water.
You’ll need a large bag or a piece of material that can be made into a bag. Tie it around a leafy tree branch, and then place a rock in the bag as a weight.
Once the plant transpires throughout the day, the water will collect at the bottom of your bag. It’s not too difficult as long as you have the right materials, but make sure you don’t do this with a poisonous plant.
Follow Animals
Another useful tip is to follow animal trails, as these will often lead to water.
However, this is not always the case, so be careful not to stray too far down a path that looks like it leads to nothing.
Lots of trails in the same area may make a formation. If you see this, look at where the trails join to make a ‘V’ shape. The tip of the ‘V’ is likely to be heading towards water.
An important factor to consider when following animals in the wild is that they often do more in the water than just drink it. It’s assumed that they will have urinated and defecated in the same place they drank.
It goes without saying that this will make the water unsafe for human consumption, so be sure to move a few hundred yards upstream from where the trail meets the source.
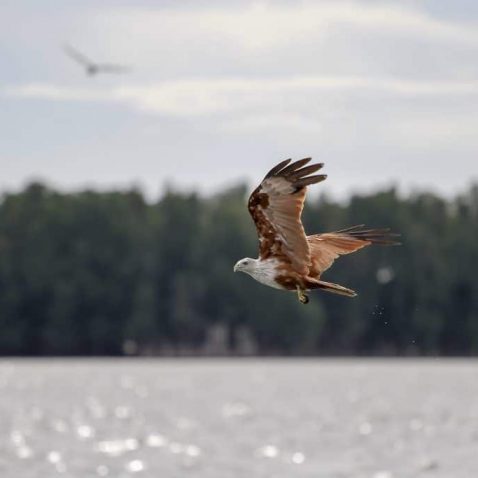
Not all wildlife will leave a trail, however. Birds often flock to water, so take notice of birds that are flying early in the morning or late in the afternoon, as they could be heading to a source.
This is also true for grain-eating birds, and when they fly straight and low, it’s likely they’re heading towards water. Listen out for creatures who live in or near water, such as frogs, as they’re a sure sign of water in the area.
Swarms of insects also imply the presence of water is nearby. Bees and ants going into holes in trees or the earth may signify that there’s water in the hole.
Techniques to Collect Water
As we’ve touched on earlier in the guide, there are ways to collect water when you can’t find a fresh water source.
If you wanted to be especially resourceful and had the time and equipment, you could have several collection systems set up at once to give you the best chance of gathering water.

A basic technique for beginners who have never practiced water collection before is to make a belowground still.
This will require some equipment: Plastic sheeting, a container, a shovel, a drinking tube, and a rock.
As is best practice with all survival gear, if you don’t have these items on hand, you can always try to improvise with the gear you do have, or with natural alternatives.
To make a belowground still, follow these simple steps:
- Pick a moist spot on the ground that gets sunlight throughout the day
- Dig a U-shaped hole in the spot, making it around 3 ft wide and 2ft deep.
- Dig a sump in the center of the hole, so the water can collect there, making it large enough to hold your chosen container.
- Place your container in the sump, and place the drinking tube in the container.
- Thread the drinking tube up and out of the main U-shaped hole.
- Cover the hole with plastic sheeting, and then anchor this down using rocks and soil on the outside.
- Place a larger rock in the middle of the sheeting, letting it drop down by around 18 inches above the container. The sheeting should have an inverted cone shape.
- For extra stability, place more soil around the edges of the sheeting.
Condensation is produced on the plastic through the ground’s moisture reacting with the heat from the sun. The condensation will then drain into the container, giving you a decent amount of water (around 1 quart of water a day if the still is built correctly).
If you want to increase moisture, you can add non-poisonous vegetation to the hole.
Find and Purify
Once you’ve found or collected water, you must ensure that it’s safe to drink.
There are various ways to purify water, and the best way differs depending on the source. For example, if you’ve found freshwater such as a stream or lake, then boiling is the easiest purifying method to use.
However, this will require fire and a container, but you can improvise a container should you be without one.

Clean drinking water is also achieved through filtering. Water filters are available as either carbon or ceramic filters, which remove bacteria, or filters with particular chemicals built in to kill viruses.
Filters can be expensive and heavy, which isn’t convenient in a survival scenario.
With this in mind, you can always use a makeshift filter before boiling the water instead, as a way of removing bacteria and dirt laying on the surface.
Items such as T-Shirts or socks can be used to filter the dirty stuff out, as well as paper coffee filters that are a lightweight option to throw in your backpack.
Arguably the most effective way to purify water is through the use of chemicals. Chemicals such as iodine and chlorine are found in water purification tablets, designed specifically to make water drinkable.
If your water is especially dirty, then it will typically need more than one tablet for optimum safety. Once placed in the water, it will take at least 30 minutes for a tablet to be effective regardless of how clean the water looks to start with.
You can also use UV light to purify water, which you can find in specific battery-powered devices to kill bacteria. This will be most effective by filtering the water first, and it is worth noting that this isn’t the most accessible purifying method.
As a last resort, you can even use the sun to help you make the water safe. Solar power works to kill bacteria through UV radiation. Leaving a clear water bottle out in direct sunlight for at least a full day can therefore be an effective technique if necessary.
Summary
Although you may feel desperate for hydration during emergency times, it’s important to remain safe and not put yourself in a potentially worse and life-threatening situation.
Be sure to avoid drinking water substitutes, such as urine and seawater. High salt content will only dehydrate you, and substitutes such as urine and blood could transmit disease.
Preparation is essential, but some situations are completely out of your hands no matter what. As scary as it may seem, everything you need for survival is out there in the wilderness for you to utilize.
We hope this guide has helped you learn how to find water in the wilderness, and has given you the skills to adapt if this unfortunate situation happens.
Please leave your feedback in the comment section below, and if you have any suggestions for topics, don’t hesitate to get in touch with us. We’d love to hear from you!
Good Luck and Happy Survival Prepping!
Share the Love
If you found this post useful, please let others know about it by sharing it.